


Max09112009.JPG)


As promised during our master bedroom tour here this weekend, I'm sharing how we made our custom wall art. It was super easy and we made two 20 x 20 inches panels for under $20.
It started when we came across the Tyglosa frames for fabric at Ikea. They cost $5 per frame and after considering how easily we could make a DIY version for less we decided to just buy two. I'll share lots of photos today so you can get some ideas for making your own version for even less.

Supplies list for two panels
2 20x20 inches frames
2 pieces of fabric at least 25.5 x 25.5 inches
Scissors or mat & rotary cutter
Drill or screwdriver
Electric stapler


When you open Ikea's packaging find the four screws mixed in with the nails. You can set the little nails aside because we aren't using them.


After I put the frames together I moved on to cutting my fabric. I used one yard of fabric that was about 60 inches wide. I found it on the bargain table at Joanns for $9/yard. Score! It's Eddie Bauer blue batik that's used in their Piedmont collection (thanks google search!). I loved the canvas texture and rich colors. If you're in the Portland area and like this, there was plenty left on the decorator fabric roll on Saturday.
Any way, I lost my mind when I started working with the fabric and didn't make the best choices. I should have salvaged larger pieces of fabric but instead I ended up with strips leftover. You'll see...
I started by cutting my piece of fabric in half so I had two 30 X 36 inch pieces.


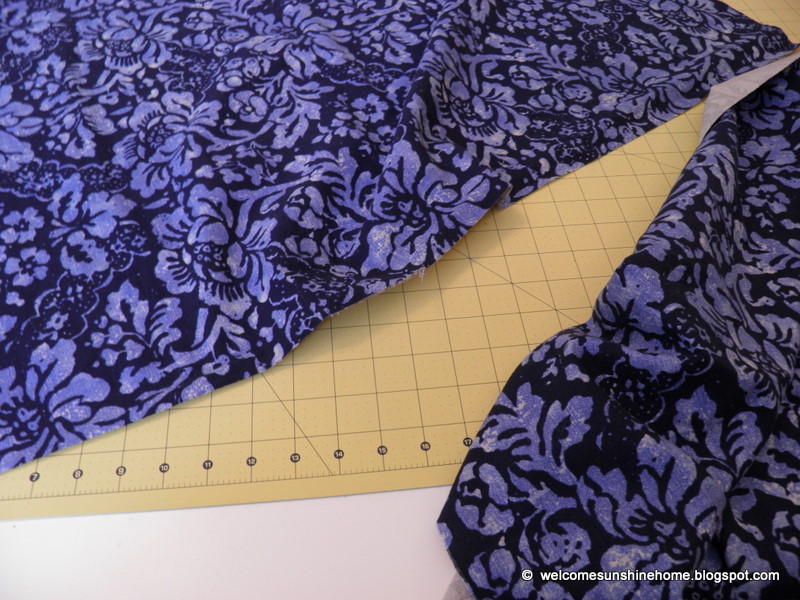
Next, I decided that I wanted to work with 30 x 30 inches pieces because the frames are square. If you were thinking, "That fabric is so 2009" you are correct. Don't worry about any of the edges because they won't show anyway.


Ta da! There's my square fabric! Next, I put my frame flat side down on the backside of the fabric and quickly realized that I'd be trimming a lot of fabric soon. Oops.


My favorite part...staple it! I didn't bother ironing because I knew this fabric would stretch well on the frame. Hammer any staples that don't go in all the way.


Trim away the excess fabric.

Staple down the opposite side.

When you get to the fourth side try to get some help so the fabric stays smooth and tight against the frame (aka no wrinkles or sagging - nobody likes wrinkles or sagging). Max didn't want to help.


On the second panel, I saved all the corners for last and I'd do it that way next time.

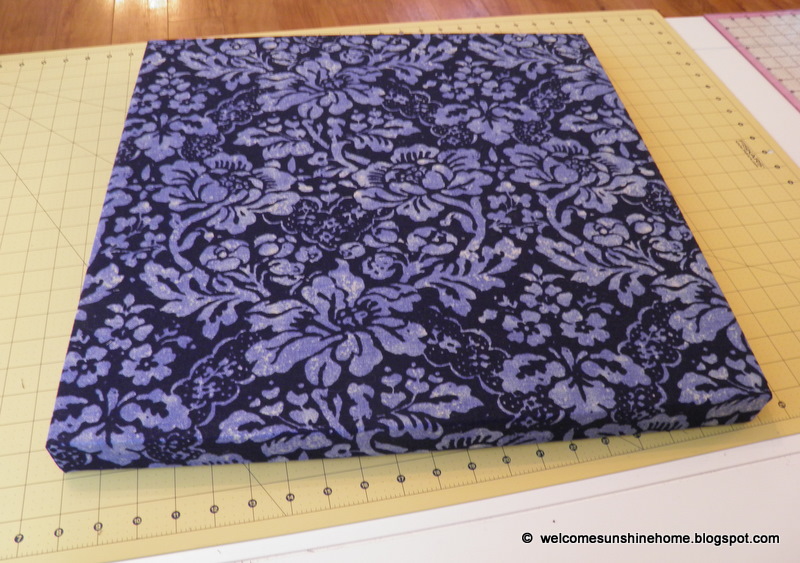

We're done!

Here's the master bedroom BEFORE:


Time to hang them up! Jake measured the placement of the panels above our bed. He put two screws in the wall for each panel so he could easily adjust them from side to side and align them properly. They're also more stable and less likely to fall our heads while we're sleeping.
AFTER:


Jake did a great job installing them over our bed precisely where I wanted them.

The fabric panels are great for our bedroom because you enter from the side of the bed. I love that the pattern wraps around the edges.

So, what do you think?

Since we complete this wall art, I've been thinking of other ways I'd like to apply this concept...
-Do a grouping of panels in different fabrics and various sized frames
-Create a basket weave effect using strips of the same fabric or multiple fabrics
-Display a portion(s) of a quilt that can't be salvaged
-Create a new quilt block using clothing from vacations or kids' clothes
-Reuse a sports or concert t-shirt (Maybe Famous Joe's Tesla jacket, MJ? No sense of that being hidden in the back of the closet...hehe)
-Create a layered look
-Transfer a favorite photo to fabric
-Group sarcastic/funny t-shirts for fun rec room art
How would you use these frames?
You can see a tour of our master bedroom here. Thanks for visiting!


11 comments:
Great ideas! I love this look, it's so simple yet elegant. I'm currently trying to cover a canvas in fabric as well. Wish me luck!
This is a great idea. With the amount of different fabrics available, the possibilities are endless. Love it.
Brooke
I'm totally going to my Joanns this weekend to see if they have any of this print left! It matches your/our comforter SO well!
Oooo I love it! I definitely need to find my way to an Ikea. I've never been because I'm afraid I'll want to buy everything!! :)
nice:))....I like it:))...
greeting from croatia:))....
M....
http://argopirgasto.blogspot.com/
How fun!! Love the price, and love the project!
Great job!
Oh how I wish an IKEA was close. What great finds....and it adds such a color to the room. I love how the fabric is wrapped....you are so right. That makes all the difference. :)
Cheers~
e
Thanks for stopping by my blog. Nice to have you!
I love the DIY artwork. It adds so much to your master bedroom. Great job!
It looks great! Definitely adds a nice extra something to the room.
great crafty idea for making your space nice, too funny about your little helper too
good job, you could do all sorts of shapes, sizes and patterns with this technique
So, what do you think? Don't be shy...we're all friends here. :) We love hearing from you and read every note you leave us!